At last! A project I started back in 2021 and have picked away at little by little is finally finished, and I’m so excited to show it off to you now!
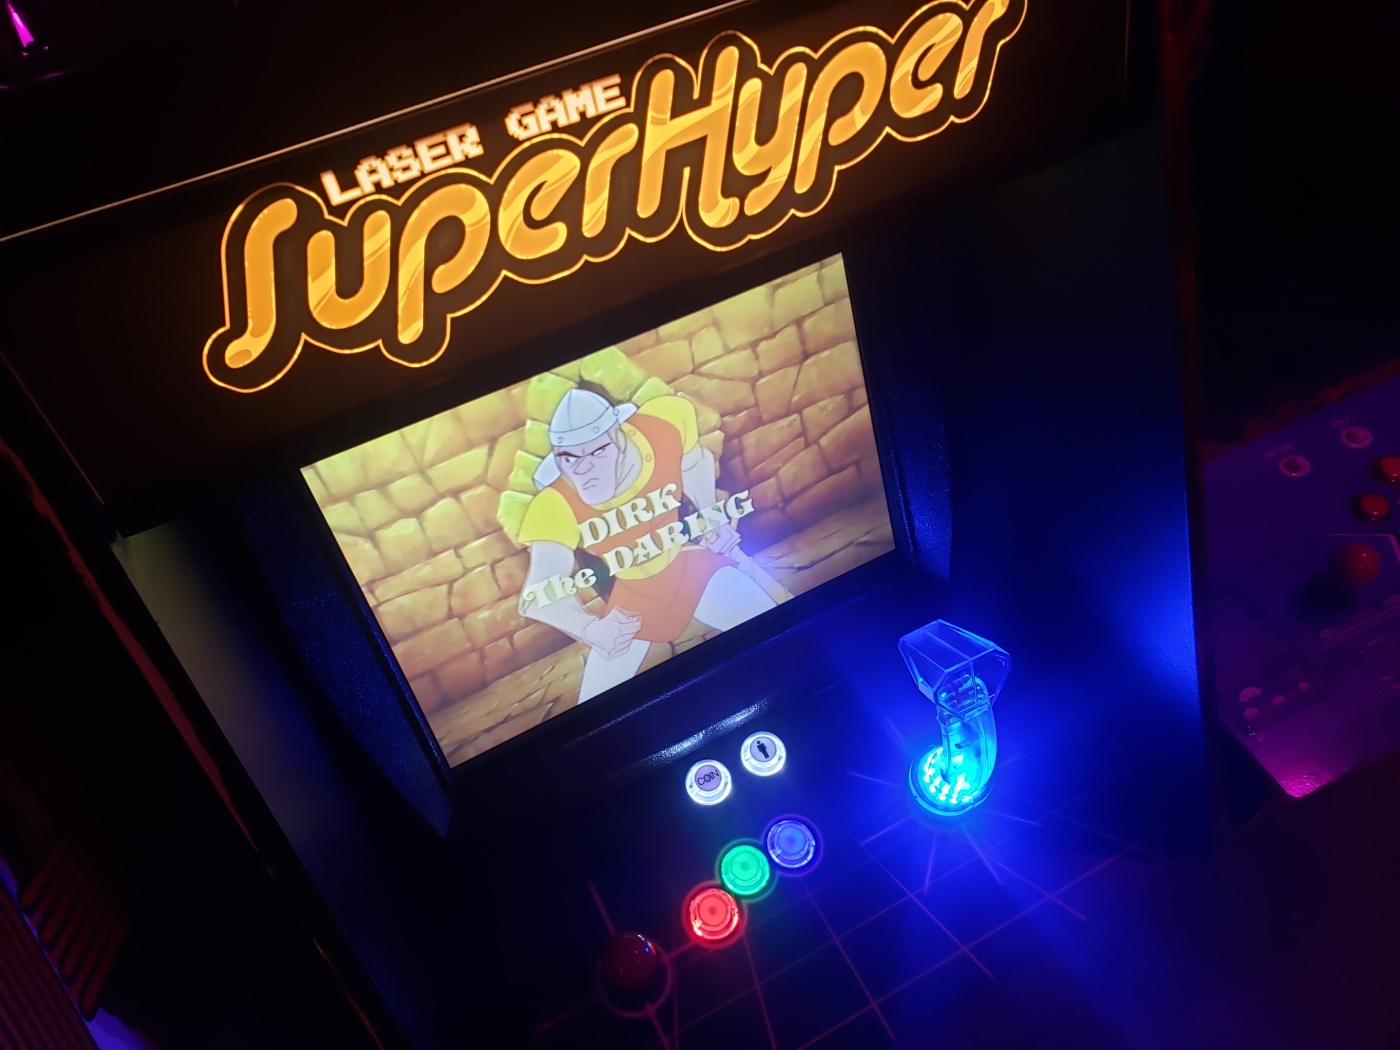
I give you…Laser Game SuperHyper!

LGSH was born out of my unabashed love for laserdisc arcade games which I have babbled about ad nauseum over the years; specifically, my want — no, my need, my burning desire — to play them in an arcade-style format, thus bringing my Golden Age arcade nostalgia just a bit more into my current reality.
If you read issue 4 of the Retro Game SuperHyper fanzine (and if you haven’t, why the heck not?!), you saw my preliminary idea for this custom project. It seemed like just a goofy pipe dream, but once my 11-year-old desktop PC died and I had to replace it, I had a Victor Frankenstein moment and realized I could bring it back to life with a new purpose, and the project was on.
Below is a video showing off the cabinet and its games. If that’s enough for you, great, enjoy! If you want all the nerdy details of the project, I’ll get into them right here!
THE HARDWARE
The guts of the cabinet is a Lenovo desktop PC whose HDD had died on me and wouldn’t boot anymore. So the first thing I did was to replace the HDD with a 256GB SSD (solid state drive) which cost me less than 50 bucks (they’re even cheaper now). (Luckily I was still able to retrieve all my files from the old HDD, in case you were concerned, thanks.)
For the monitor, I already had a 19″ 3:4 LCD from an older PC sitting around collecting dust. Perfect!
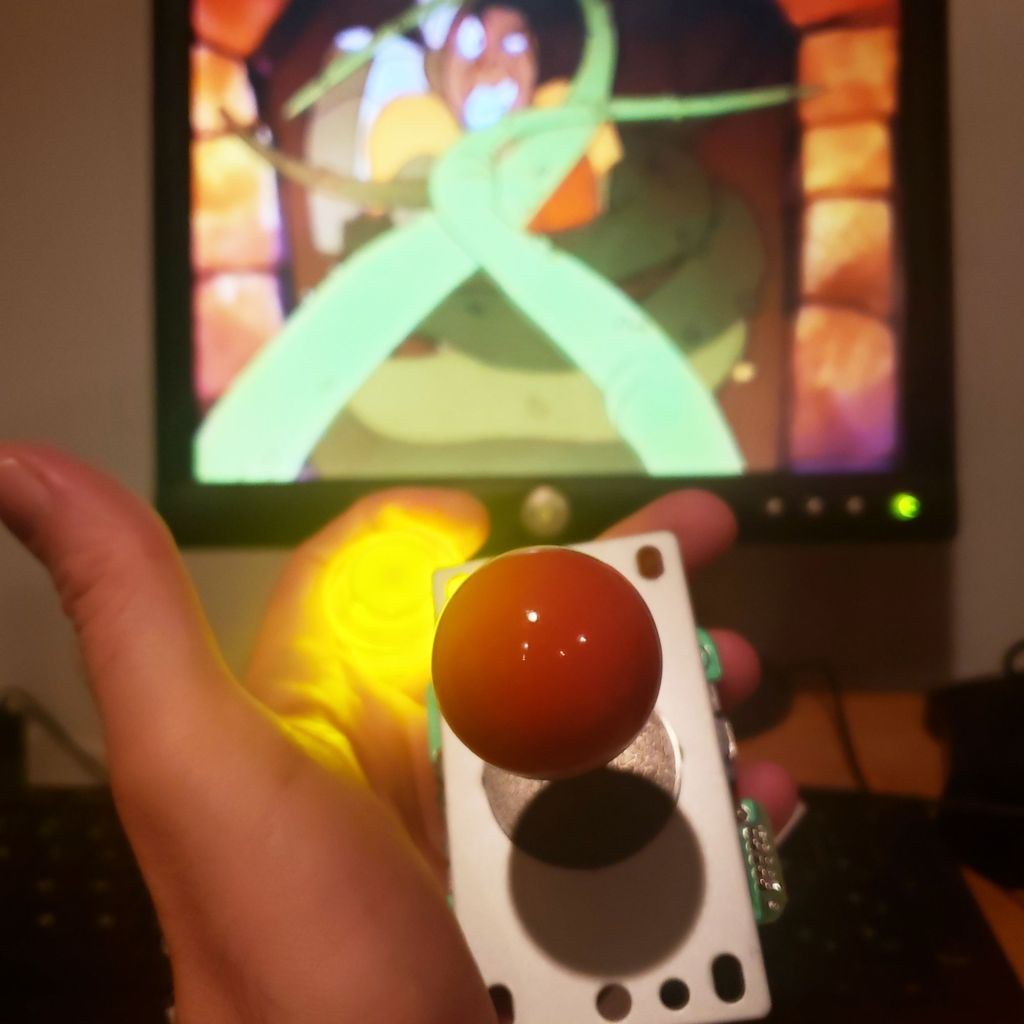
The main joystick and buttons are the generic Seimitsu-clone kits you can get for cheap on Amazon that everyone uses for their Arcade 1up mods and MAME cabinets.
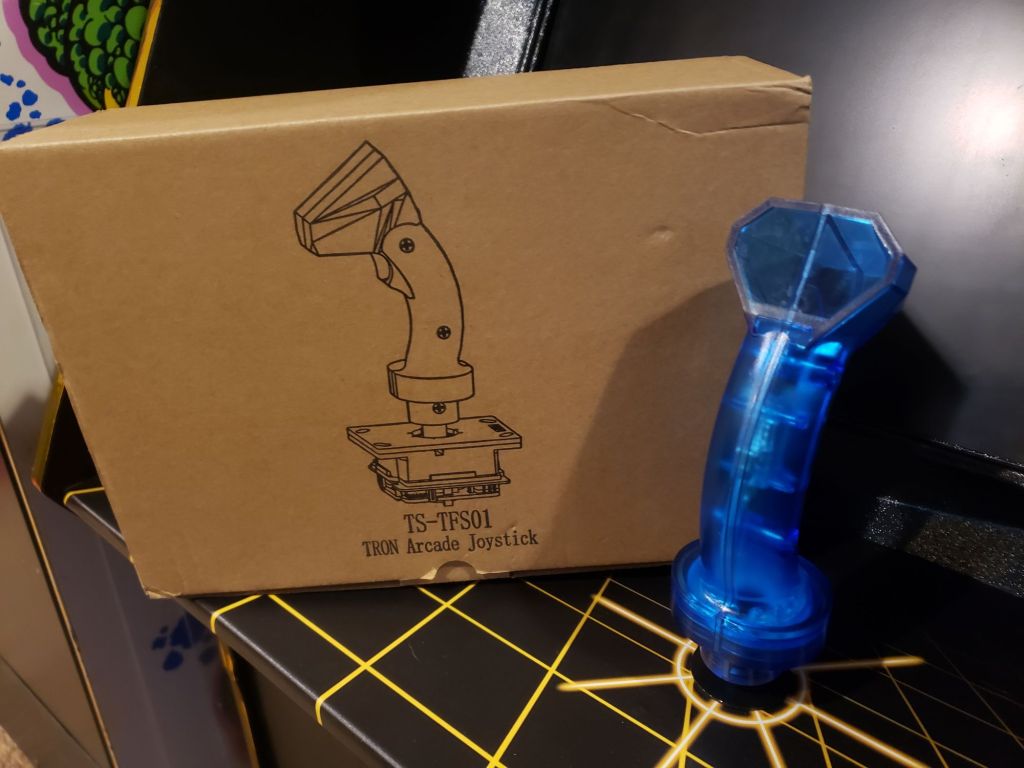
However, since so many laserdisc arcade games used a flightstick (MACH 3, Cobra Command, Astron Belt, Galaxy Ranger, Interstellar Laser Fantasy, and more), I thought that would be essential to replicating the arcade experience. The GRS Tron stick from Thunderstick was the perfect solution. It’s a USB stick meant for AtGames Legends Tron setups — but I don’t always use equipment for its intended purpose.
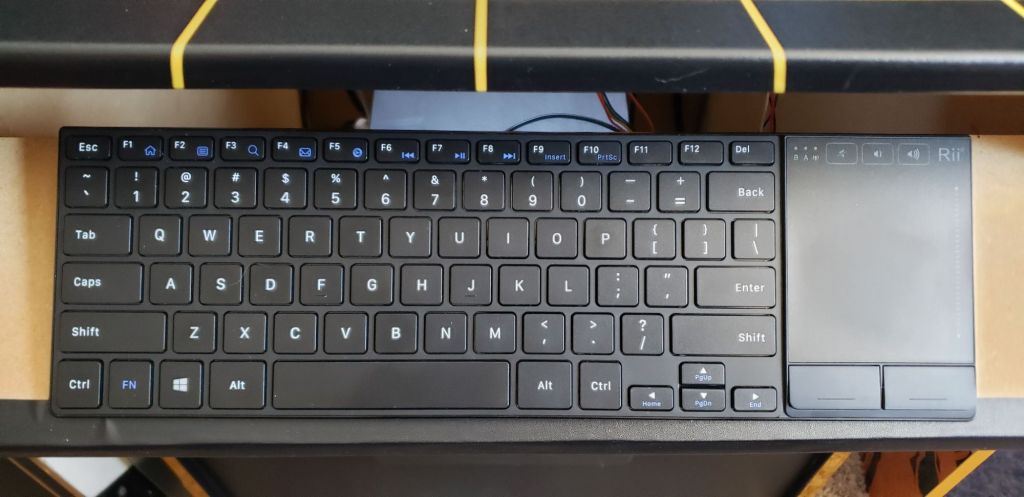
I knew I’d need a keyboard for certain tasks, so rather than taking up space with a full-size one that I already had, I picked up an inexpensive, slim, wireless keyboard with a touchpad by Rii from Amazon.
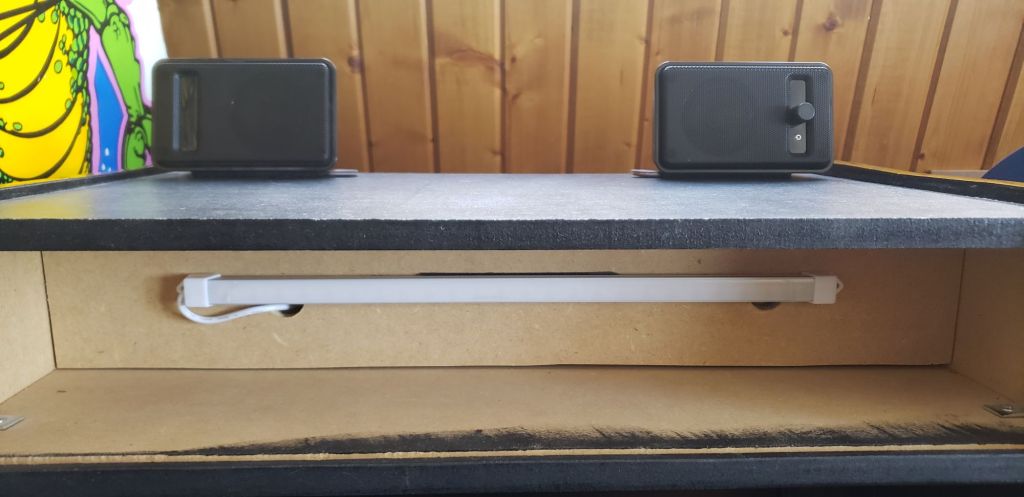
Other than that, there’s Amazon Basics PC speakers, a USB LED light bar for the marquee, and a power strip. And that’s all I needed to make it go!
THE CABINET
From the start, I wanted this project to be an Arcade 1up-scale cabinet rather than a full-size upright. I do have a RasPi-modded Space Invaders A1up, so this would be a nice companion piece for it.
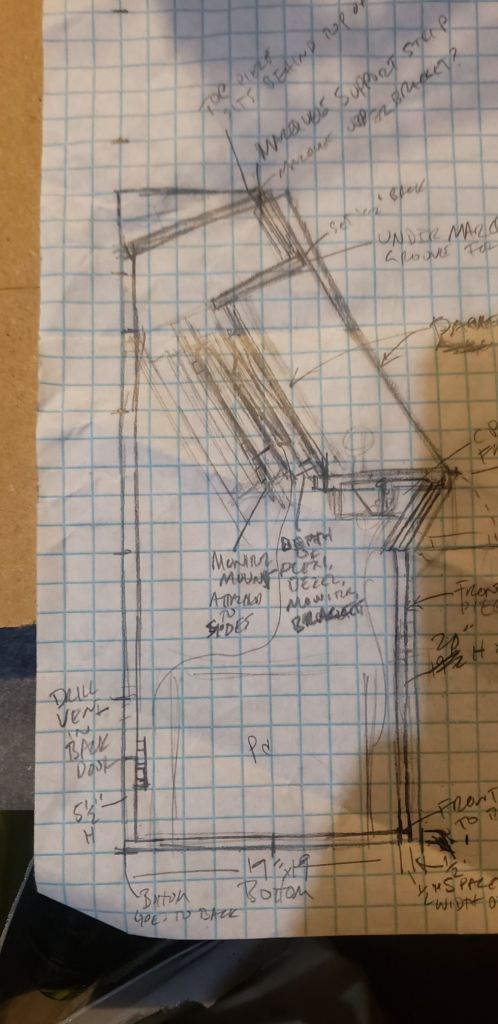
I worked out the design and measurements on graph paper.
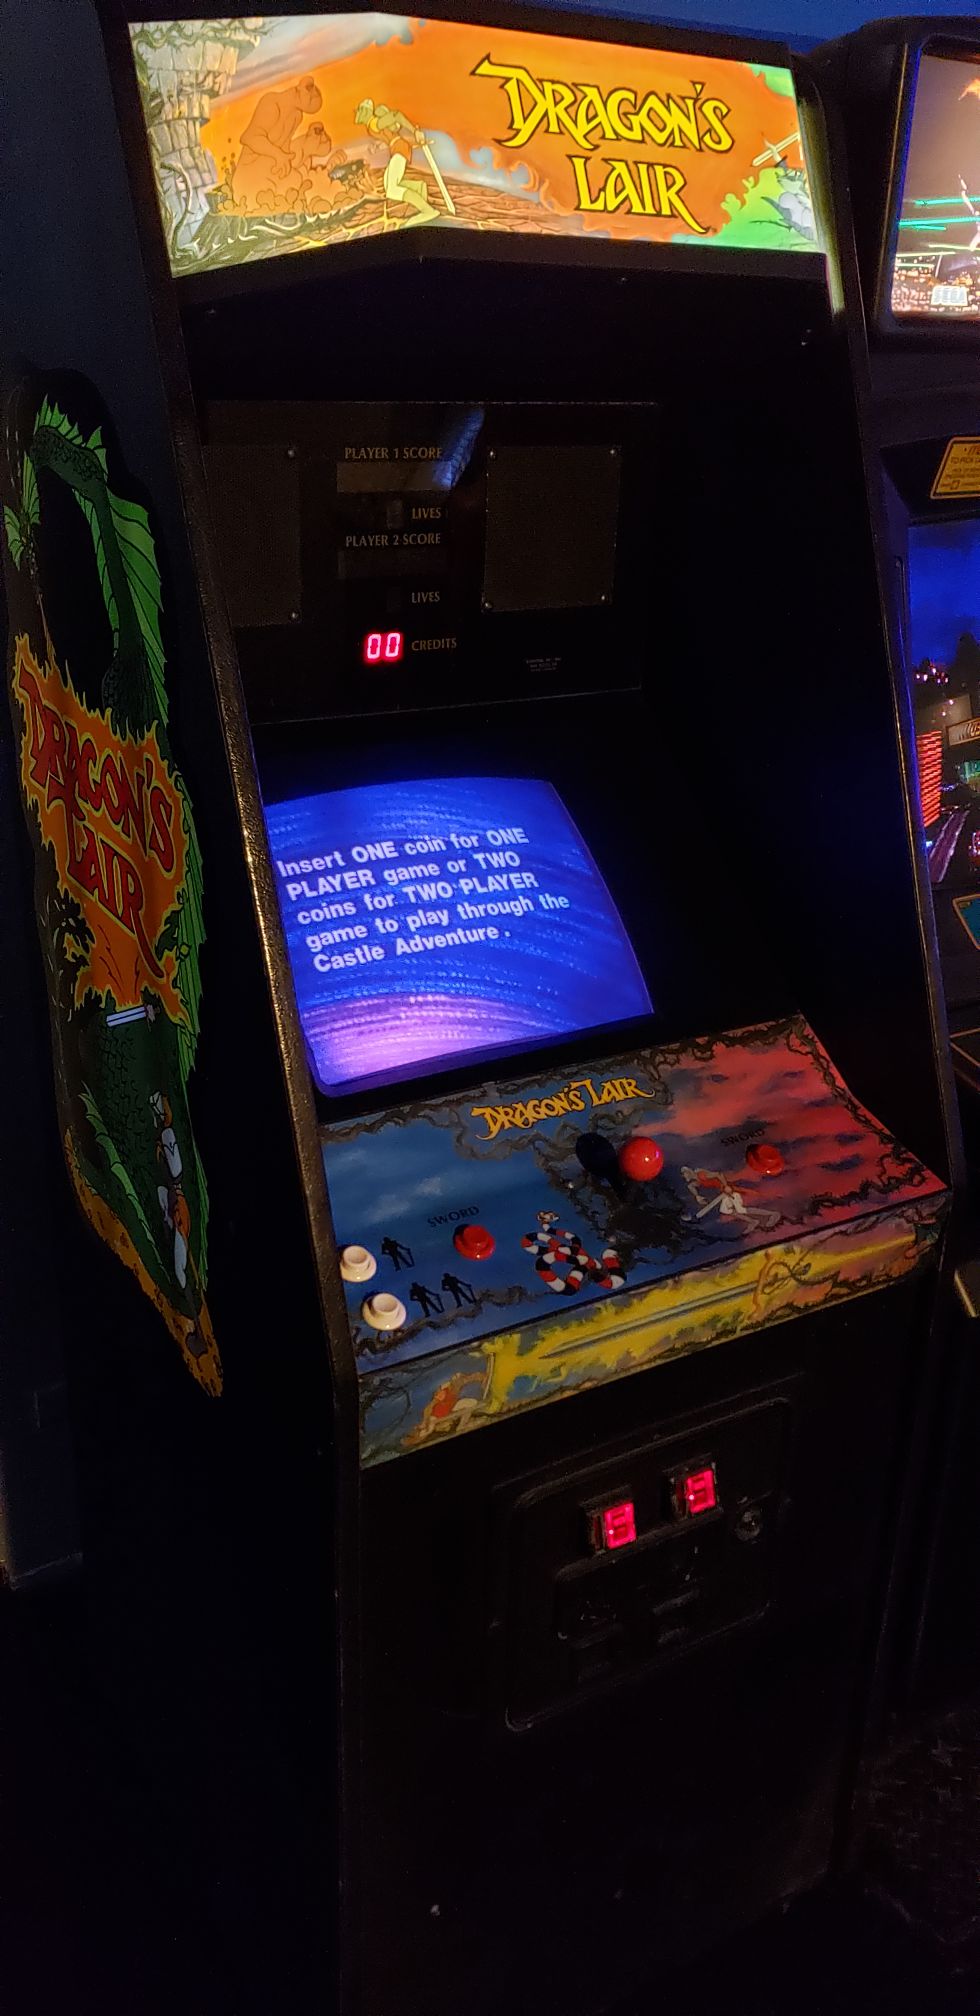
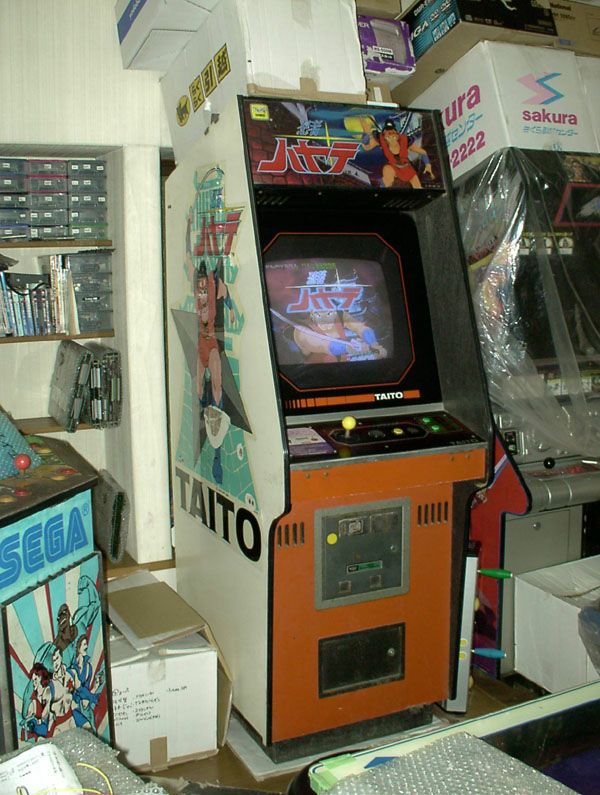
The cabinet design is based a bit on the cabinet for Dragon’s Lair (which was often also converted to Space Ace and Cobra Command) mixed with Taito’s cabinets for Time Gal and Ninja Hayate.
The end result actually ended up looking a bit more like a Tempest, but that’s okay.
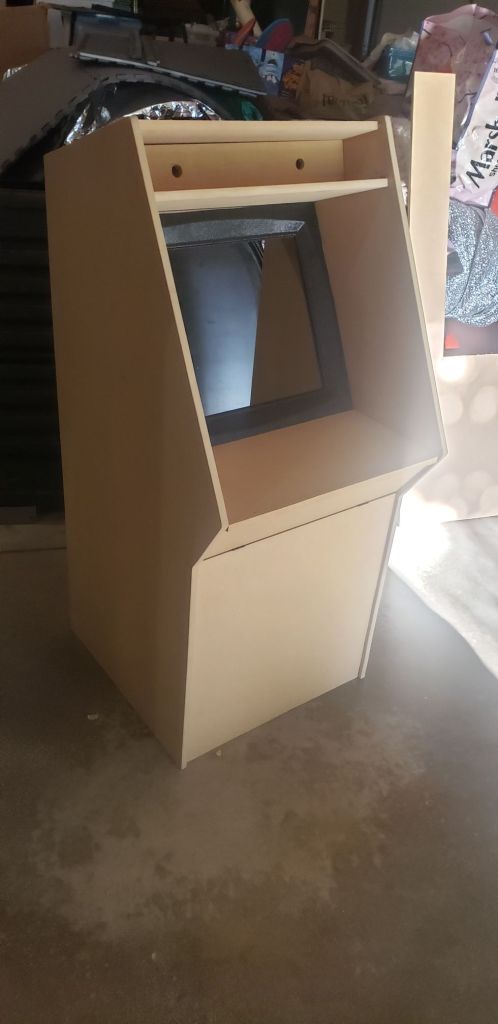
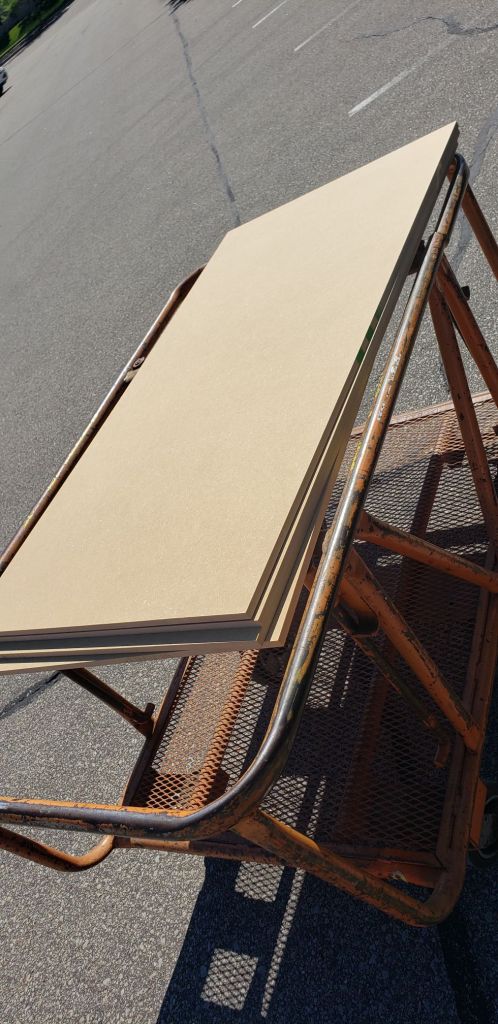
When I started sourcing materials, I think I realized why A1ups are the size they are: because an entire A1up cab can be made out of a single standard 4’x8′ sheet of MDF. Economical!
So I got a sheet of half-inch MDF and had the store cut it into four 2’x4′ pieces. From there, I measured and cut what I needed. I’m not a very experienced woodworker, so I had to figure out how to engineer a lot of things. A couple pieces needed grooves cut into them, and luckily my wife had gifted me a router for my birthday (which I may or may not have asked for specifically for this project). Yay!
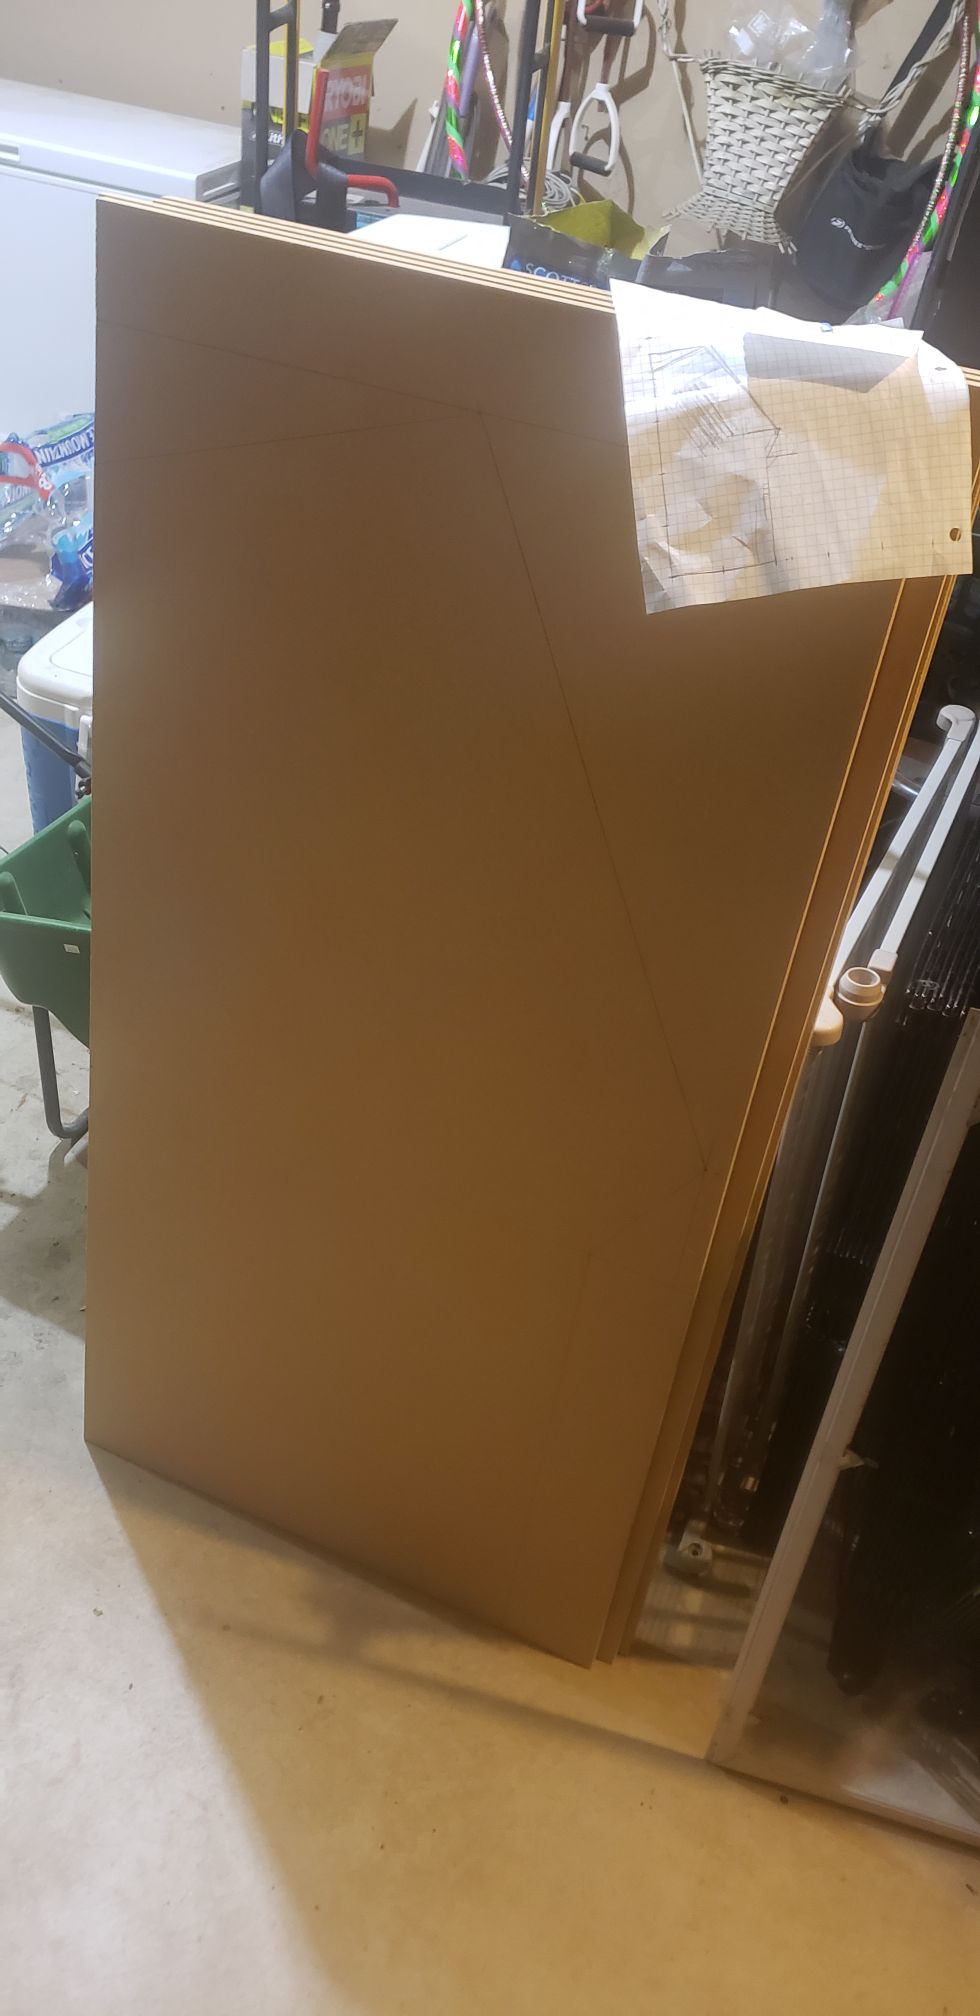
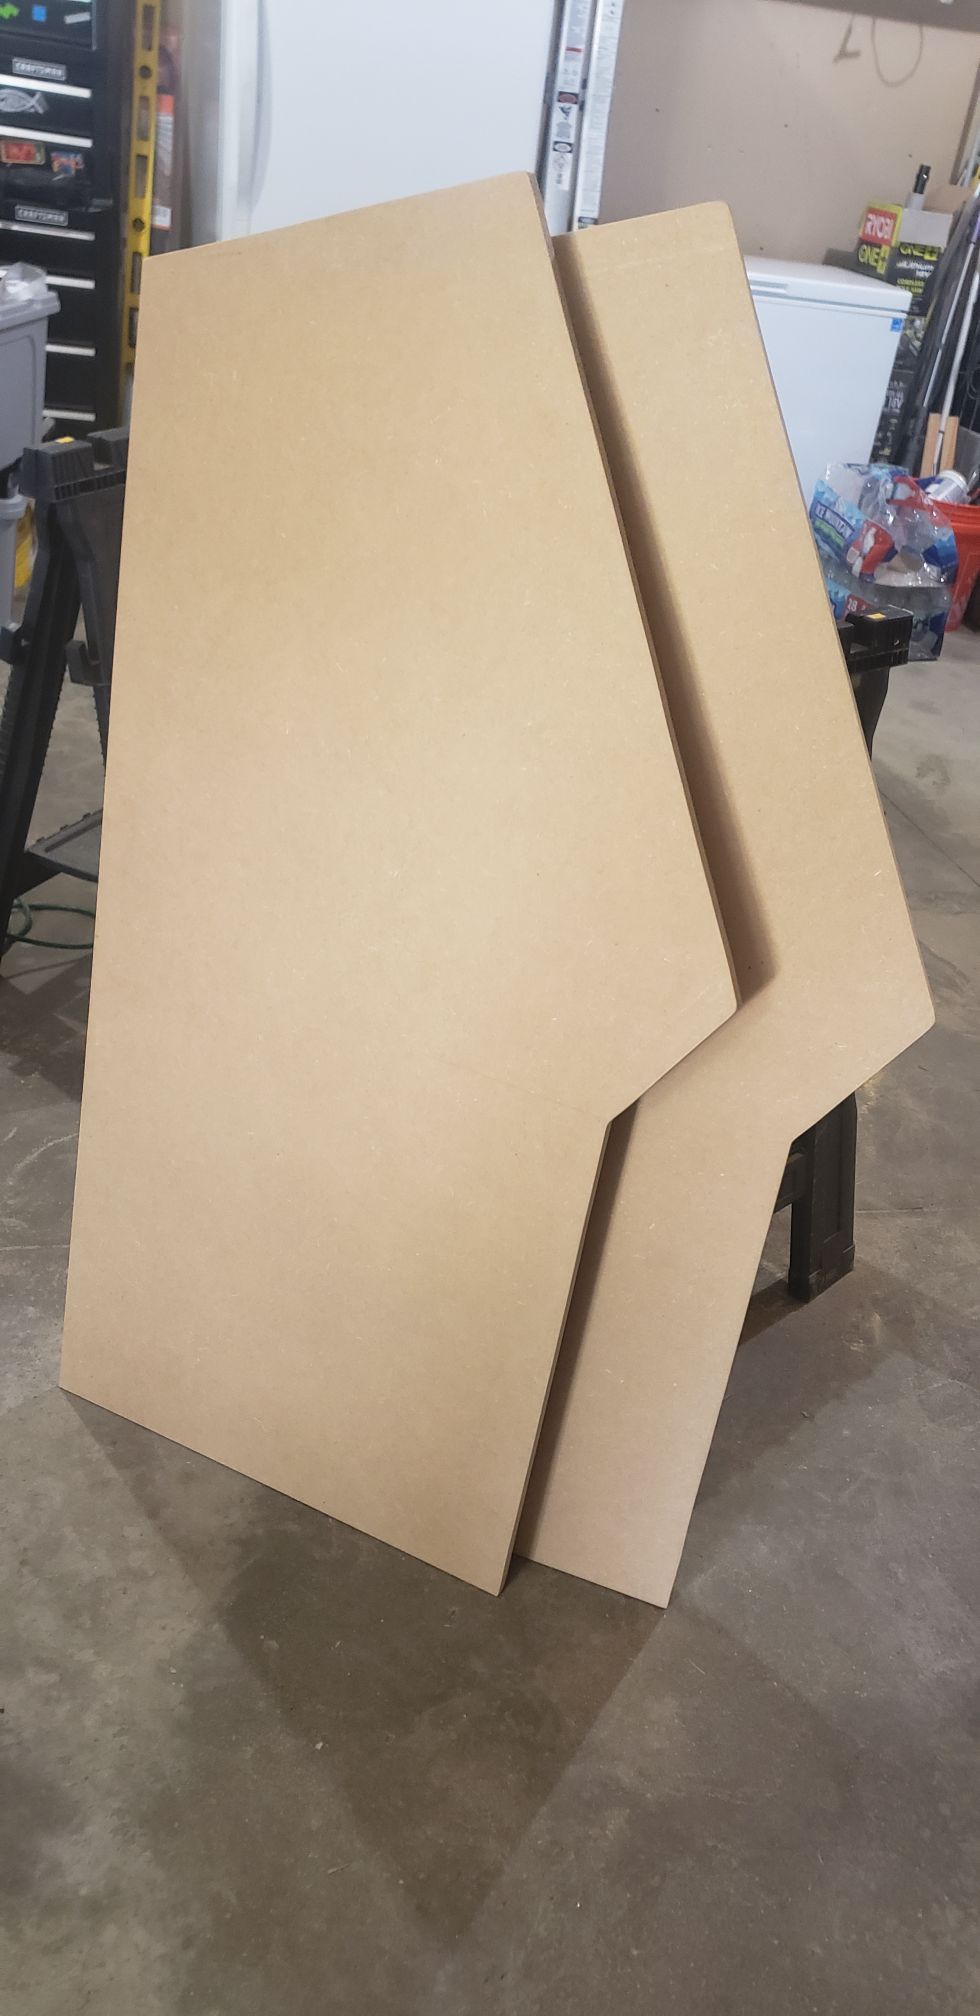
I had to work out how all the hardware was going to be installed, so some small extra pieces to support the control panel, monitor and bezel, and marquee light had to be put in place.
I also wanted a flip-down panel for the wireless keyboard underneath the control panel, so that is attached with a couple small hinges, and closes with a push-push spring magnet (you know, push to pop it open, and push again to close). A piece of nylon strap keeps the panel where it needs to be when open.
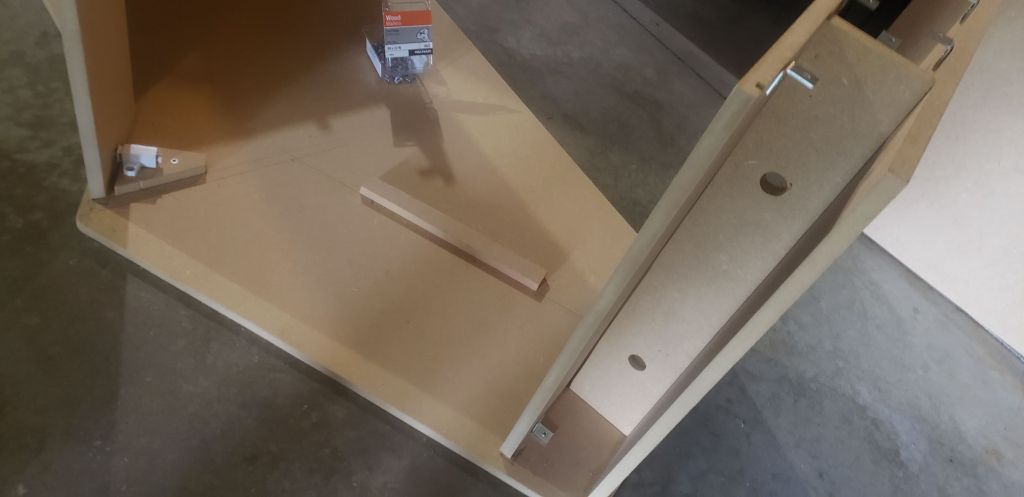
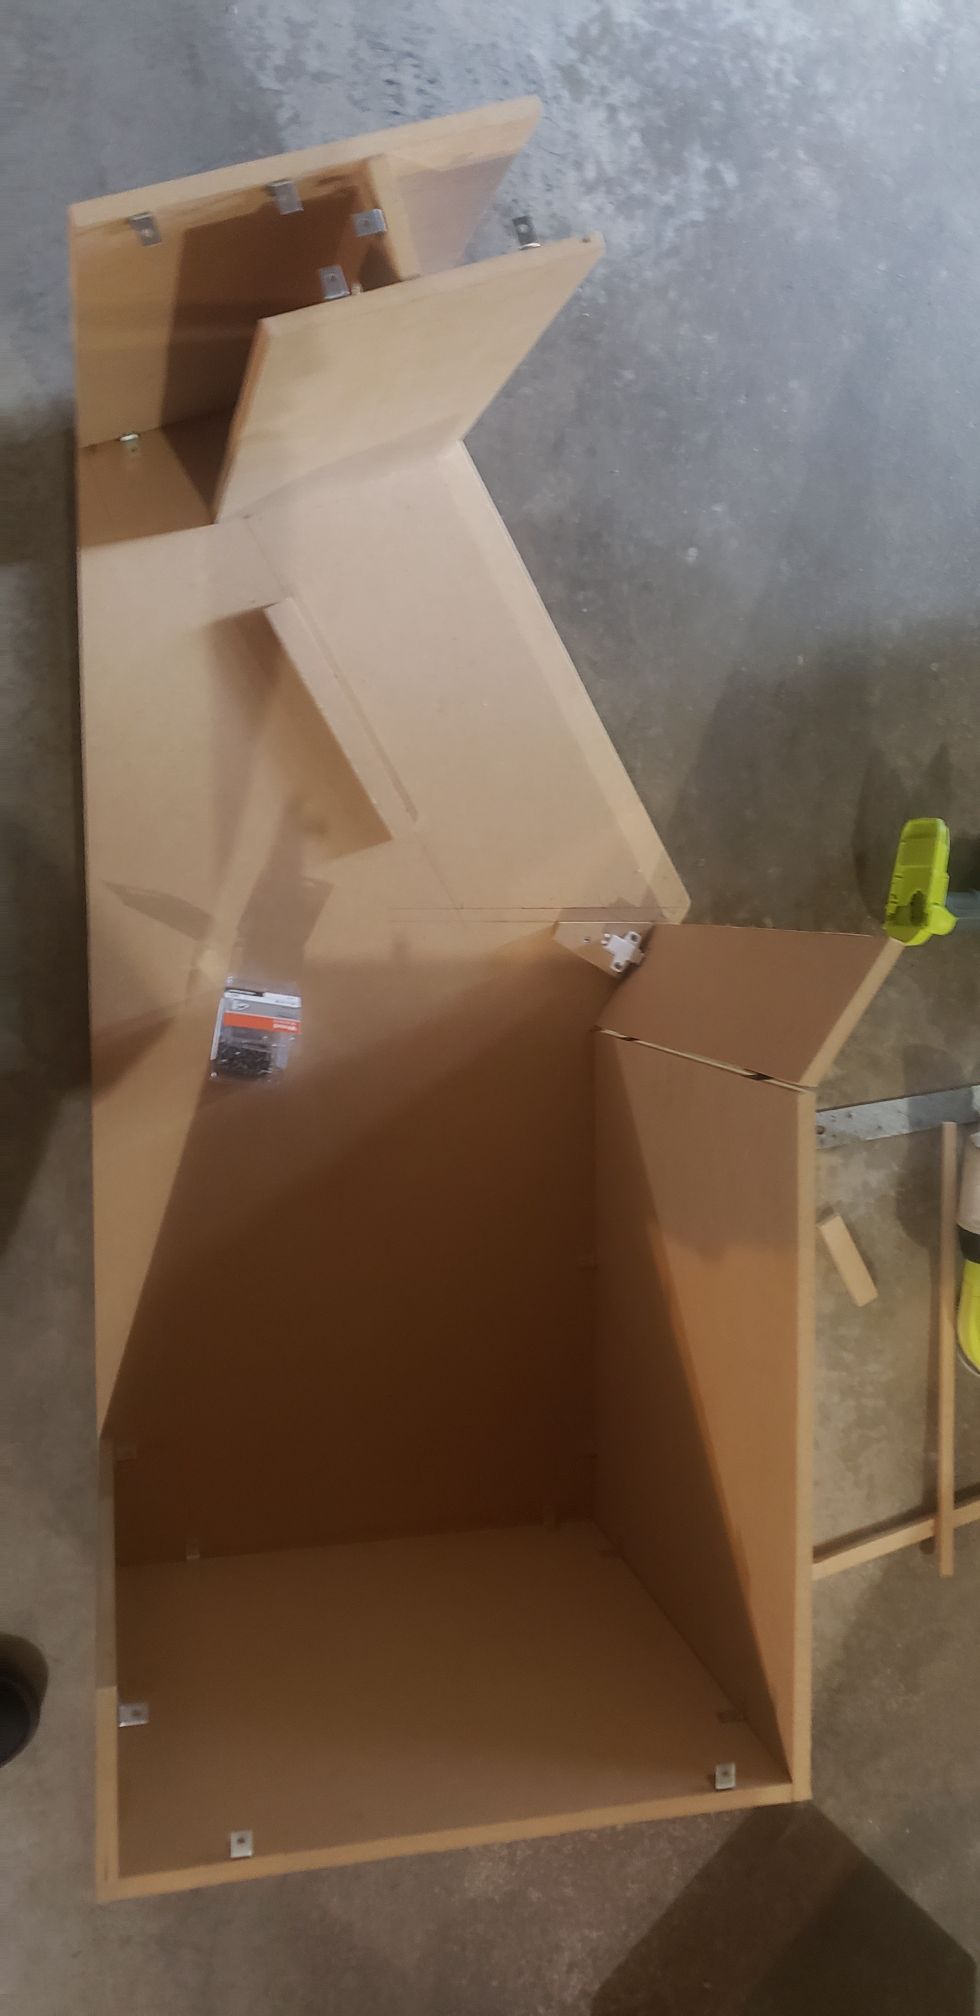
I didn’t want screws showing on the outside, so everything is attached with wood glue and small L-shaped brackets screwed in on the inside.
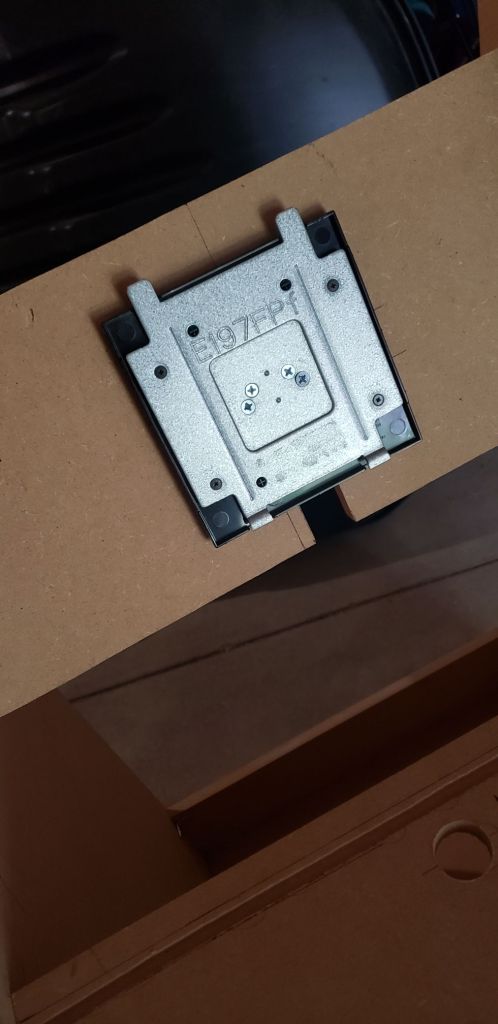
One big question was, how to mount the monitor? Well luckily, the monitor I was using was originally attached to a stand with a quick-release panel. I removed the panel from the stand and screwed it into a bracket I built into the cab. Then I could just clip the monitor right back onto it!
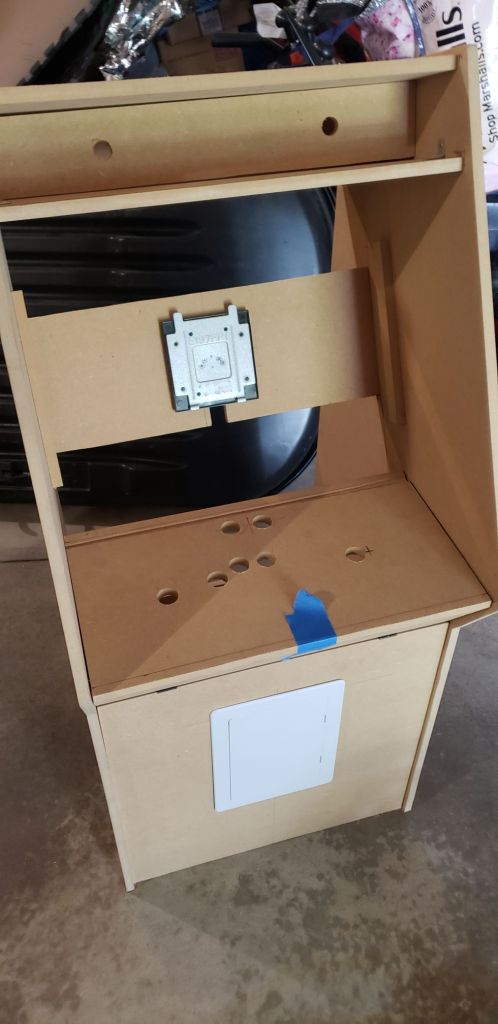
I was initially going to just create a cardboard bezel to surround the screen, but then I found this great plastic bezel from Arcade Shop that’s made for a 19″ flat panel display. I love the curved edge that recalls a CRT, so I ordered that and cut it down to size.
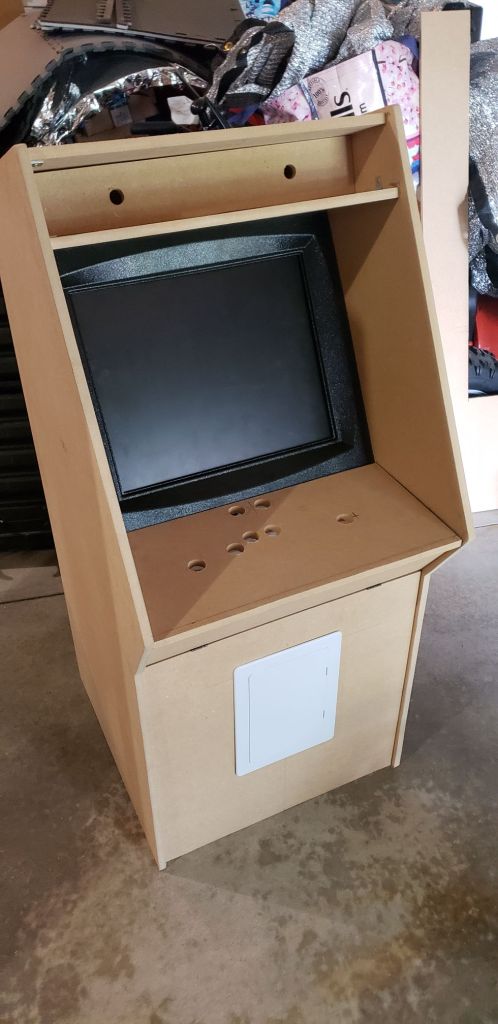
Easy access to the PC at the bottom of the cab behind the kick panel was necessary, so I installed a simple plastic 9″x6″ access panel, which would also simulate the look of a coin door.
A sheet of acrylic was needed for the marquee and screen, and that was easy enough to acquire and cut. In the end, however, I opted to leave it off the monitor.
Finally, I had intended to put a back on the cab, but…meh.
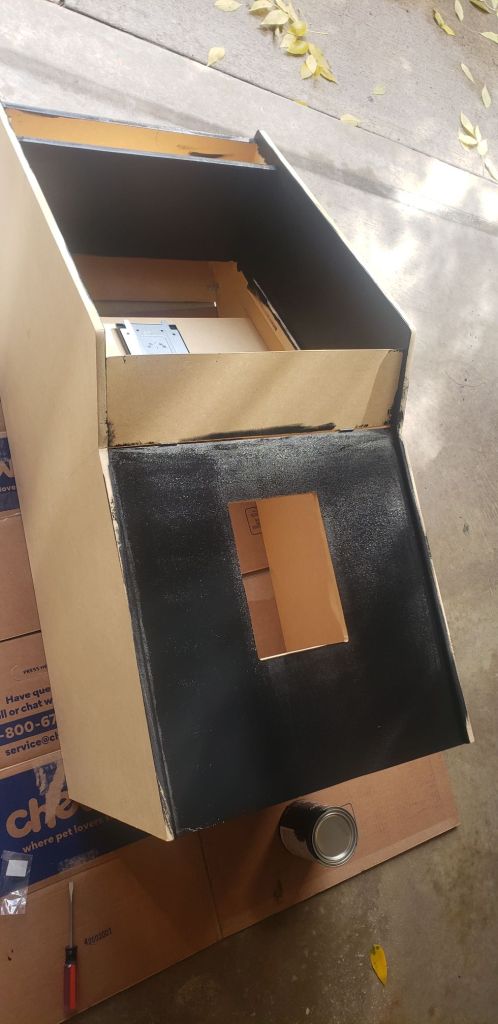
After everything was assembled, the parts that were not going to be covered in artwork were painted a semi-gloss black.
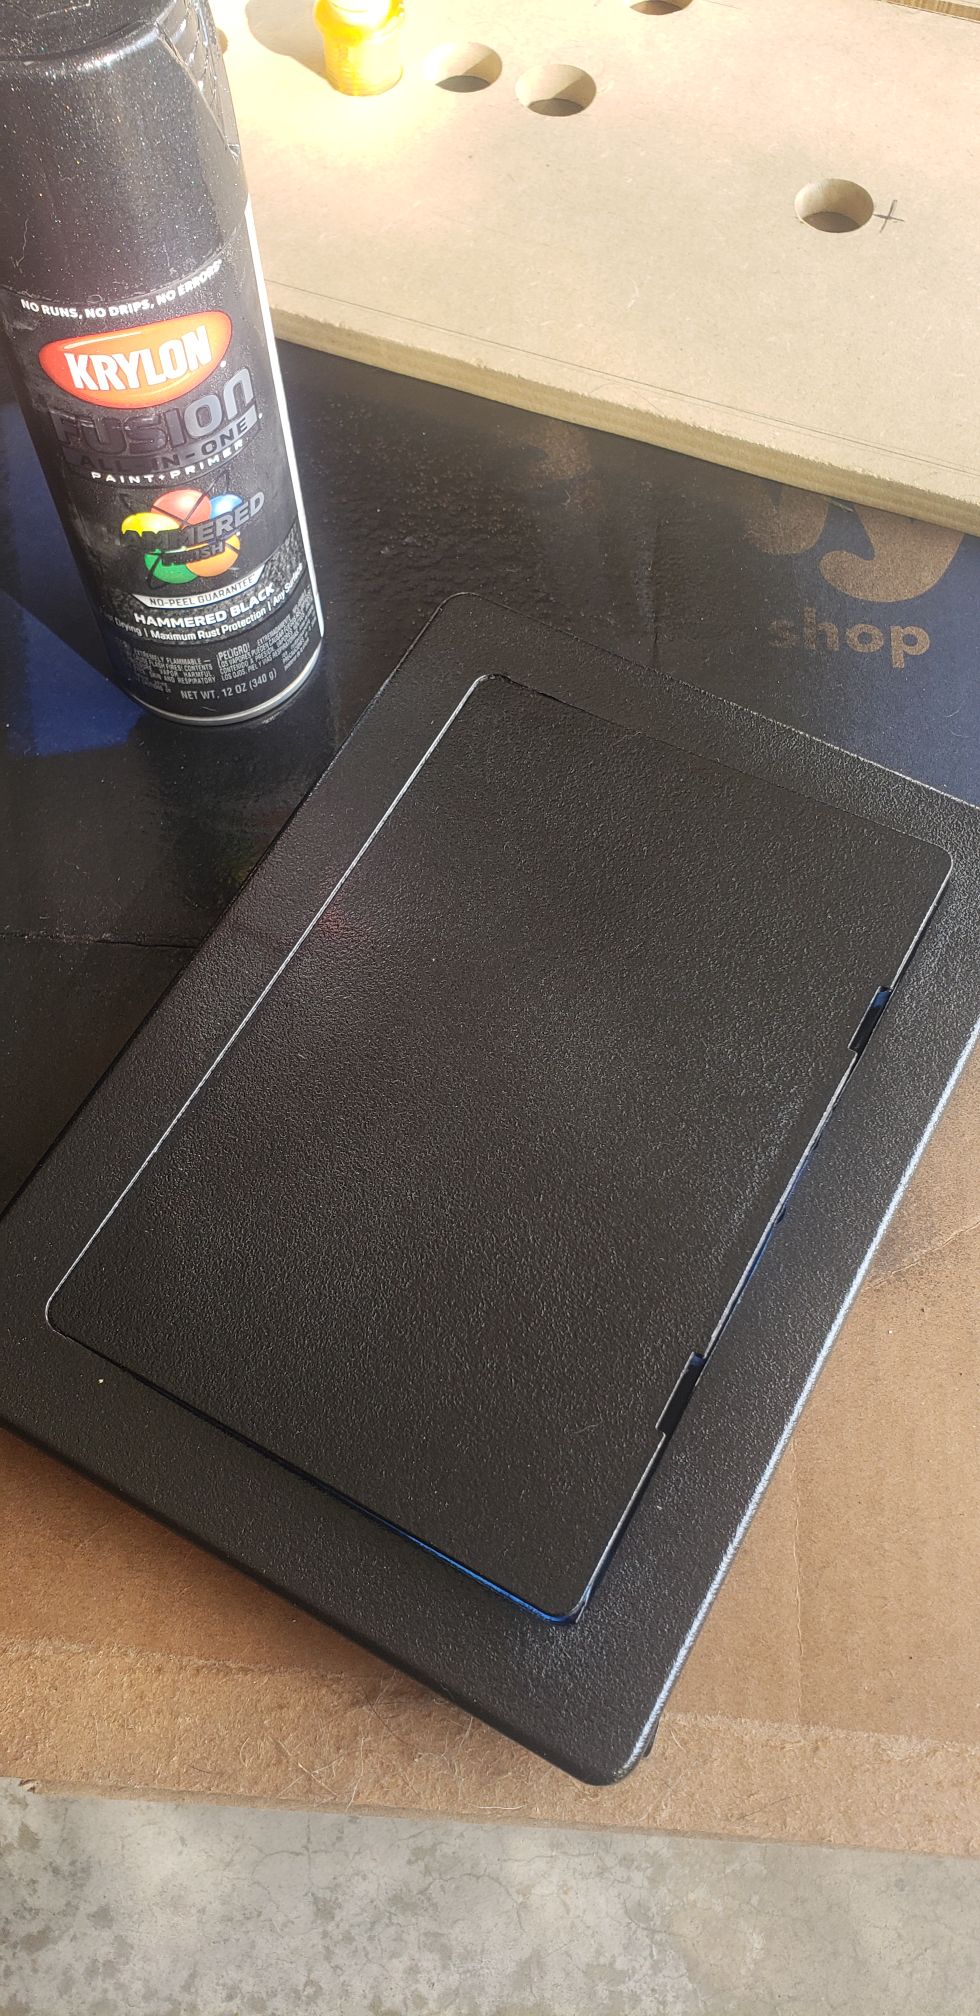
To make the access panel look more like a coin door, I sprayed that with a hammered-texture metallic black.
THE ARTWORK
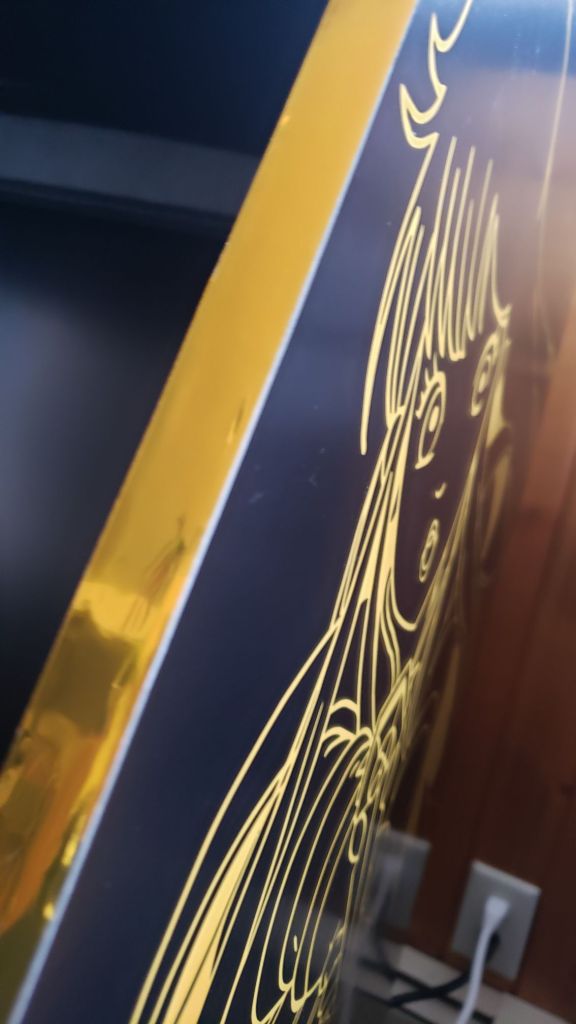
I knew from the beginning that I wanted the side art to be large line drawings of Princess Daphne from Dragon’s Lair on one side, and Reika from Time Gal on the other. I also knew the cabinet would be named Laser Game SuperHyper, so I had to modify my logo for the marquee. Beyond that, I just wanted a sort of trademark 1980’s look that didn’t reference any other specific games.
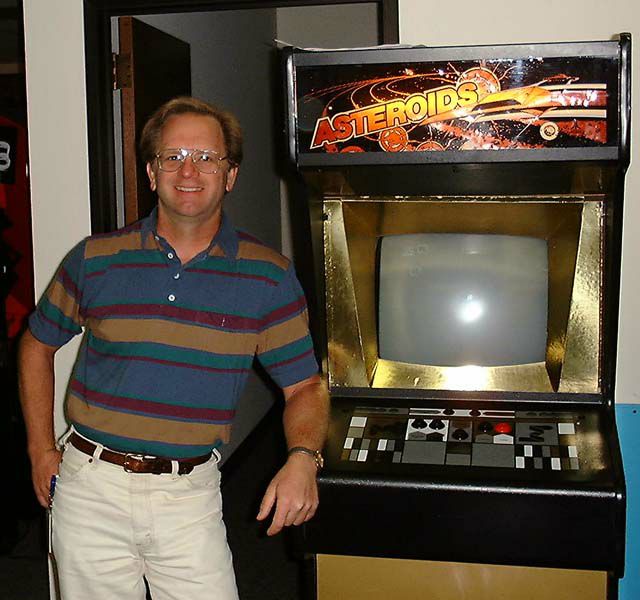
For some reason, the color scheme in my head for this was always black and gold. I realized that silver and rainbow/prism colors would have screamed “laserdisc,” but I just thought black and gold would look very elegant and high-end. I know I was also influenced by the special commemorative 10,000th Asteroids cabinet that Atari made, as shown in this well-known photo of Asteroids programmer Ed Logg, which I always thought was a super cool and classy-looking machine.
Fitting in with this colorway was my redesign of the SuperHyper logo. I of course replaced the word “Retro” with “Laser,” but I also wanted to include a nice inside reference: The gold chrome effect is patterned after the way Don Bluth animated the title screen of Space Ace!


So I designed the art package in Photoshop and Illustrator. But the next question was, where to have it printed? One of my arcade buddies actually uses a local sign maker to print off his vinyl graphics. I inquired with one in my area, but they took a while to get back to me. In the meantime, I checked with This Old Game, a well-known maker of repro arcade art. Kendra told me they were a little too backed up to take on custom projects, but referred me to Scott at Game On Grafixx, who handles lots of custom work. So I went with Game On and my art package was produced quickly and looks absolutely perfect!
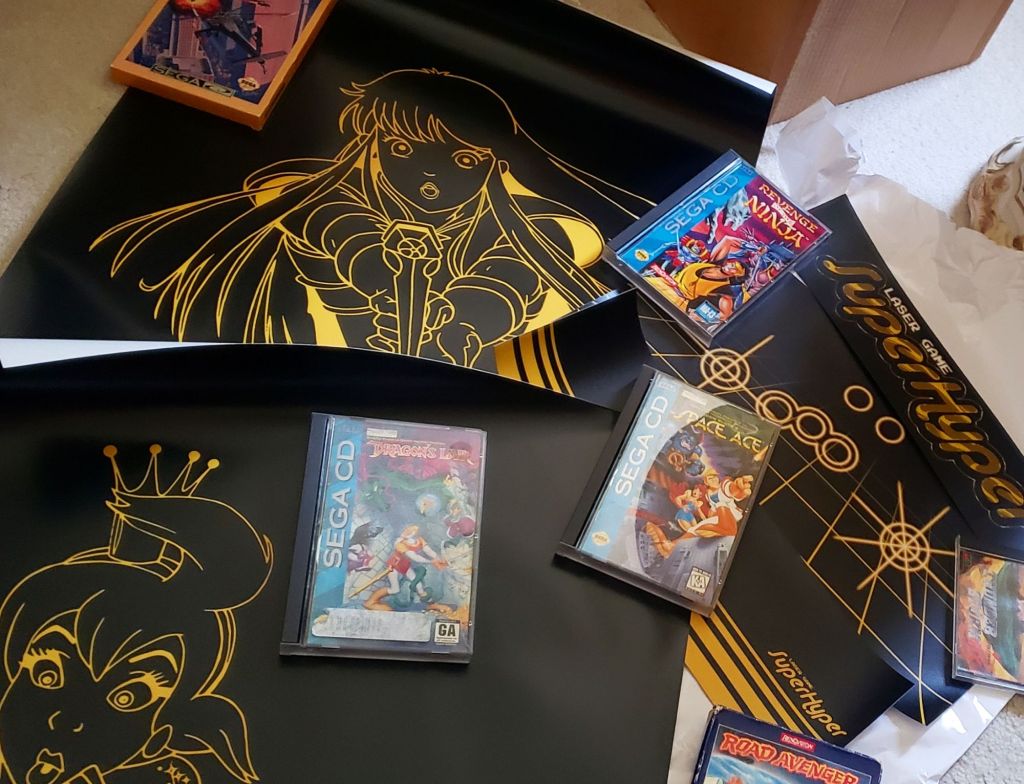
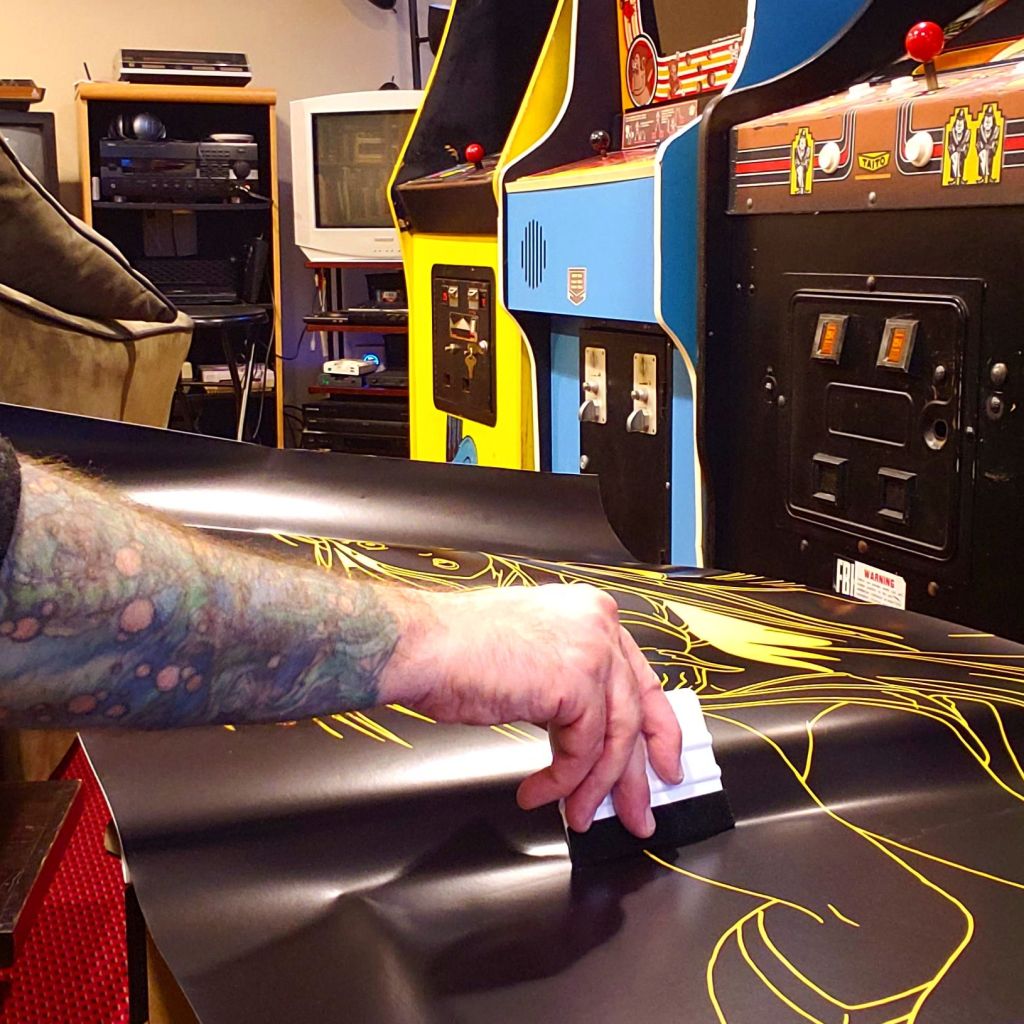
Applying the art was a new experience for me. Even though I’ve done some cosmetic restoration of arcade machines before, I’ve actually never installed vinyl side art or CPOs. The control panel and flip-down keyboard shelf were simple enough, but the side art had me a little nervous. But taking my time and using the handy application tool that I got from Game On made it pretty easy!
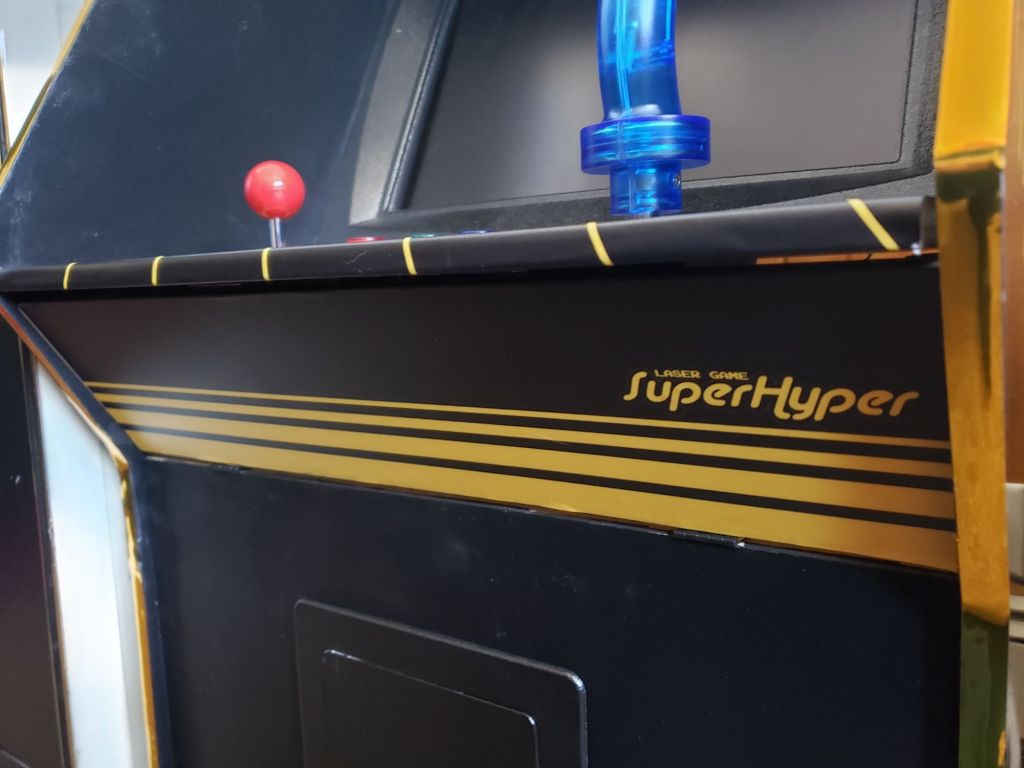
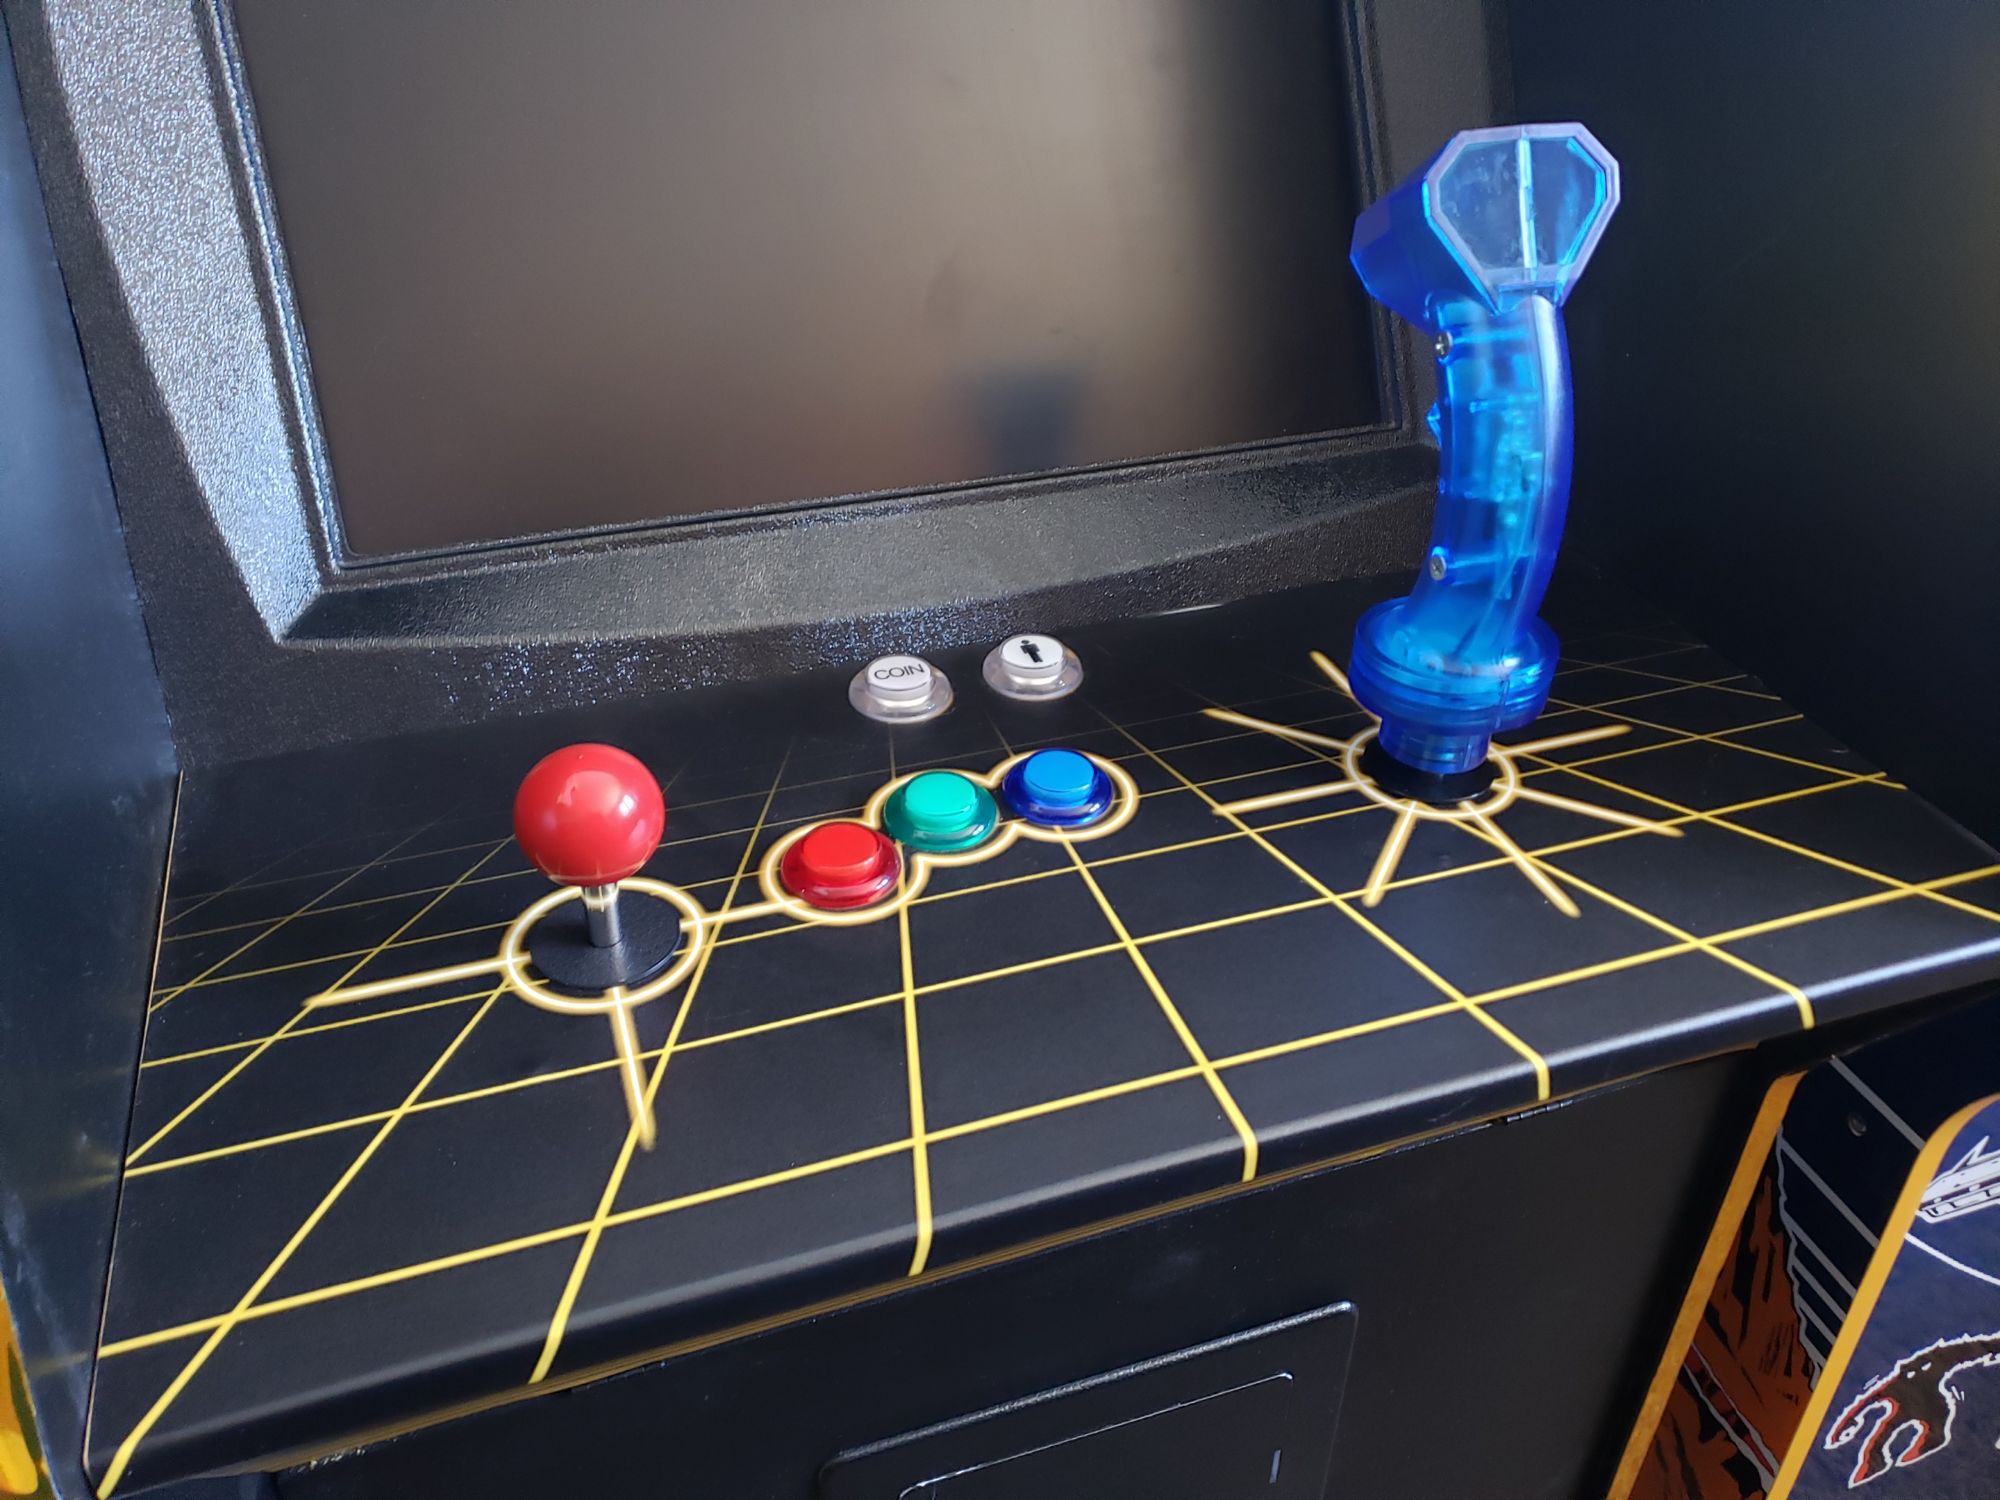
The final touch was some trim for the edges of the machine. I couldn’t do proper T-molding, so I started looking for some sort of edge banding. I wanted gold chrome, so i wound up with this gold metallic tape found on Amazon. It was the perfect size and color; however, the adhesive was barely sticky at all, and it wouldn’t adhere to the edges of the MDF.
My solution was to pick up some 1/2-inch 3M VHB (very high bond) tape, apparently the strongest double-sided tape you can get. It’s squishy and stretchy and very effective.
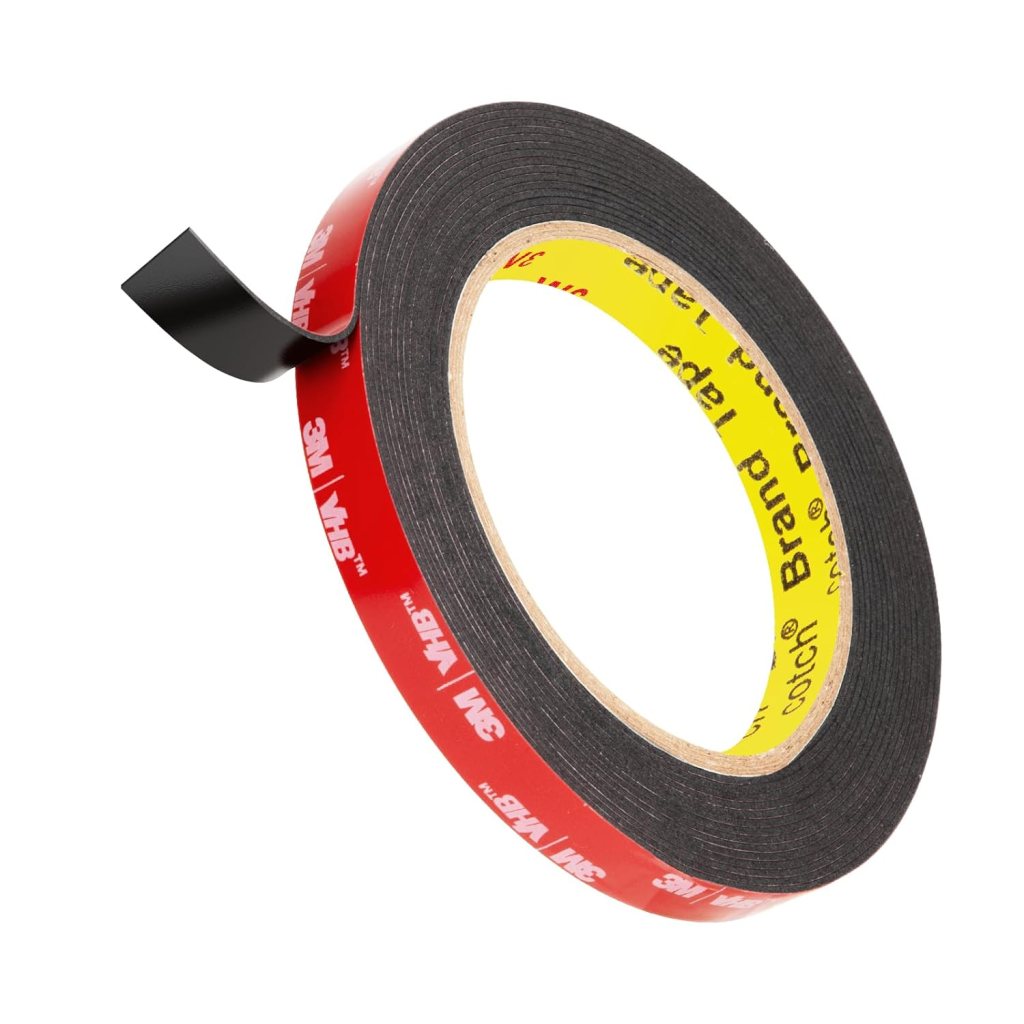
After applying the VHB (sounds like a home video format, doesn’t it?) to the edges, it needs to sit for quite a while (ideally a day or two) to really bond with the surface. After that, I peeled the backing off and applied the gold tape, and it stuck like crazy and looks great!
THE SOFTWARE
First, the basics: the PC is just running Windows 10 (although it keeps bugging me to update to 11) and almost everything is controlled by LaunchBox as a frontend.
Emulators and software being used include:
- DAPHNE (arcade)
- SINGE (homebrew arcade ports)
- MAME (arcade)
- Mednafen (PlayStation, Saturn, PC-FX, Game Boy)
- SNES9x (Super NES)
- Phoenix (3DO)
- CDi Emulator (CDi, believe it or not)
- Steam (PC)
And the list of games:
Arcade:
Astron Belt
Badlands
Bega’s Battle
Cliff Hanger
Cobra Command
Cube Quest
Dragon’s Lair
Dragon’s Lair II: Time Warp
Firefox
Esh’s Arunmilla
Galaxy Ranger
GP World
Interstellar Laser Fantasy
MACH 3
Road Blaster
Space Ace
Super Don-Quixote
Thayer’s Quest
Time Gal
Time Traveler
Triad Stone (technically a LaserActive port)
Us vs Them
Computer:
Cosmos Circuit (MSX, port of unreleased arcade game)
Dragon’s Lair (Steam)
Dragon’s Lair II: Time Warp (Steam)
Kingdom: The Far Reaches (PC port of Thayer’s Quest)
Kingdom II: Shadoan (PC game, intended sequel to Thayer’s Quest)
Rolling Blaster (MSX)
Space Ace (Steam)
The Spectre Files: Deathstalker (Steam, lost arcade game resurrected by Galloping Ghost)
Console:
Battle Heat (PC-FX)
Brain Dead 13 (PlayStation)
Dragon’s Lair (Game Boy Color port)
Dragon’s Lair TV (SINGE homebrew)
Thunder Storm FX (SegaCD port of Cobra Command)
Escape from Cyber City (CDi port of unreleased arcade game Freedom Fighters)
Galaxian3 (PlayStation port of huge multiplayer arcade attraction)
Masked Rider: Kamen Rider ZO (SegaCD)
Ninja Hayate (PlayStation port)
Revenge of the Ninja (SegaCD port of Ninja Hayate)
Road Blaster (PlayStation port w/extra features)
Sewer Shark (SegaCD)
Strahl (3DO port of Chantze’s Stone/Triad Stone)
Strahl (Sega Saturn port)
Super Road Blaster (SNES MSU1 homebrew port)
Tengai Makyou: Dennou Karakuri Kakutouden (PC-FX)
Thunder Storm (PlayStation port of Cobra Command w/extra features
Time Gal (PlayStation port)
Time Gal (SegaCD port)
As you can see, many of the games I’ve included are laserdisc-inspired, but not actual arcade LD games, such as Battle Heat, Masked Rider, and Brain Dead 13. I thought it would be fun to play those in an arcade setting to round out the list.
Of course, we must also address games that are not included. Several LD game classics are not currently emulated, notably Stern’s Goal to Go, Taito’s Laser Grand Prix, and most regrettably, Williams’ Star Rider. (I believe Star Rider is playable via the Dexter laserdisc replacement setup for arcades, so I’m not sure why it hasn’t been emulated for home use yet — hopefully someday it will be!) Taito’s Space Battleship Yamato is not emulated via PC yet, though it is available on the Taito LD Game Collection on Switch. Also missing are the American Laser Games titles, which are mostly gun games, and a couple of MSX LD games that are more strategy-based than arcade action. Finally, I desperately wish the game The Act was available on PC — I’ve never gotten to play it, and it would be an amazing addition to this unit.
It took a really long time to dial in all the different emulators, games, .bat files, controllers, and other programs to play nice with LaunchBox, which is one of the things that took this project so long to complete. I’d say there are still issues with a small percentage of games, but for the most part, I can pick any of these classics and rock and roll within seconds.
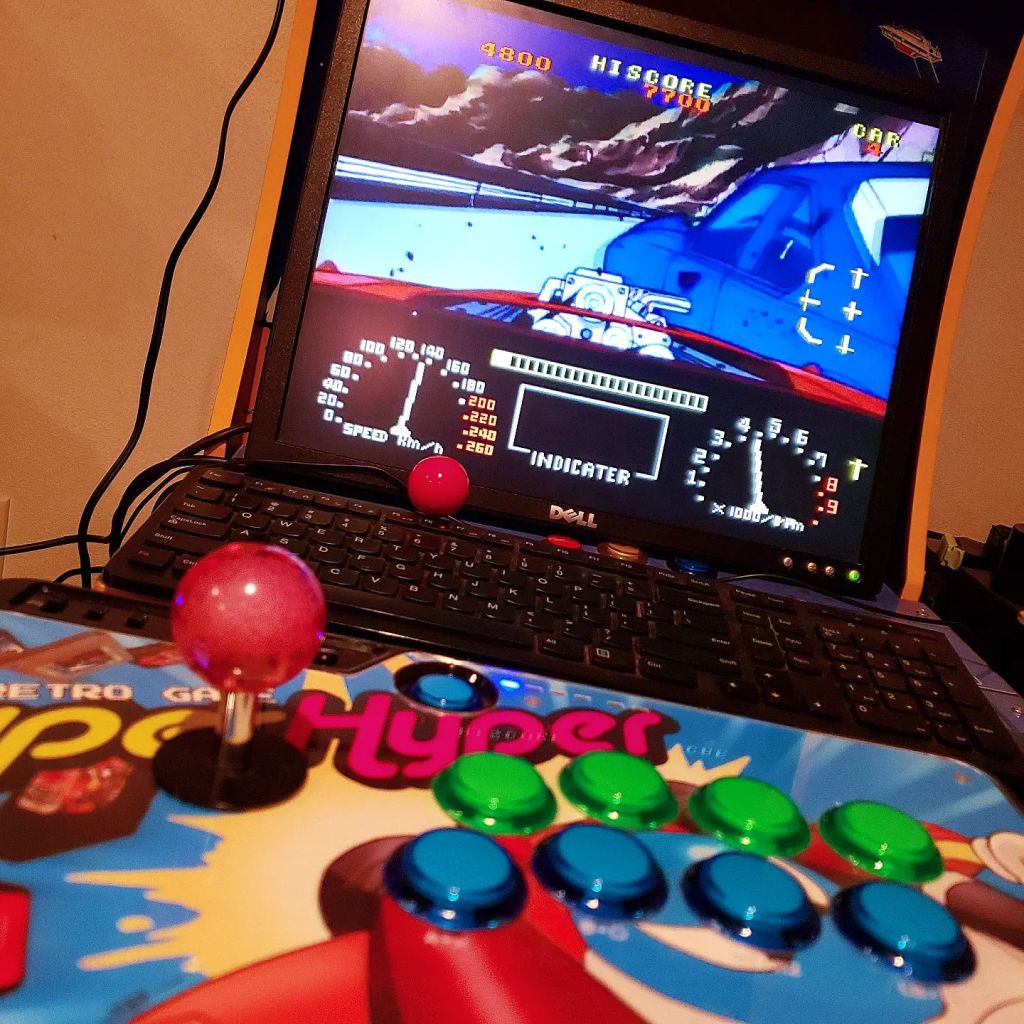
A few of the games do still take a bit of twiddling, controller-wise. While I’m glad I included the trigger stick, unfortunately DAPHNE only recognizes one controller at a time. So if I want to use the stick to play Cobra Command or MACH 3 or Interstellar as the arcade gods intended, I have to go into my PC’s device settings, disable the main stick and buttons, and enable the flightstick. Not too bad, but Cobra requires two buttons (machine gun and missile) and the Tron stick only has one; with each of them on separate USB encoders (which have different connectors and therefore are not compatible — i.e., I can’t connect the Tron stick to the arcade stick’s encoder), that means I can’t use the flightstick and the other buttons at the same time, either. I’m hoping to find a workaround for that, so for now, I have to play Cobra Command with the standard joystick (oh boo hoo, #firstworldproblems).
Then there’s Firefox, which used an analog flightstick in the arcade. Trying to use either of the digital sticks on this game is almost impossible, as your reticle jams all the way to whichever direction you’re pushing and can’t achieve the precise control necessary. Luckily, I picked up a cheap Logitech USB flightstick on eBay, so I can just plug it in (through that handy access panel in the front of the cab) and use it on Firefox.
Likewise, the original Cube Quest was played with a trackball; while it plays great on MAME with a mouse, this is the reason I chose that wireless keyboard with the track pad, so Cube Quest is playable that way on my machine (I could always plug in a USB mouse too).
The keyboard also comes in handy for the Steam version of Deathstalker. The arcade version uses three buttons to choose the answers to the questions the game poses, but on PC it uses a cursor to point and click. I wish there was a way to adapt it to button use so it could be closer to the arcade version. Thayer’s Quest/Kingdom and Kingdom II also use the keyboard.
Battle Heat and Tengai Makyou were PC-FX games, so they require a 6-button controller to play. I didn’t want to give the machine a Street Fighter-style 6-button layout just for two games, so I can just plug in an appropriate controller for those games too.
I do want to talk about a few interesting titles I’ve included:
Escape from Cyber City: This is a CDi version of a game called Freedom Fighters, which according to the Dragon’s Lair Project was unreleased, although prototypes were produced, apparently. Some of the hardest work I did on the software side of this project was getting a reliable CDi emulator and this game to work with LaunchBox. And after all that, the game kinda sucks.
Cyber Circuit: An MSX version of a Taito arcade LD game that was also unreleased. Though flyers with screenshots of the arcade version exist, evidently the game never came out in game centers, but an MSX version with lower-quality sprite graphics was released.
Dragon’s Lair TV: This is a fan-made game in SINGE utilizing footage from the Dragon’s Lair Saturday morning cartoon series.
Triad Stone: Ah yes, Chantze’s Stone/Triad Stone/Strahl. I wrote a whole article about this game both on the blog and in my fanzine. The version I have here is another SINGE fan creation based on the LaserActive MegaLD version of the game.
Masked Rider: Kamen Rider ZO: The SegaCD FMV game based on the sentai TV show of the same name. I included it because it plays just like an LD arcade game, and it feels cool to play it with arcade controls!
Galaxian3: This was a mid-’90s arcade attraction that utilized huge screens and supported up to four players, and was, of course, laserdisc-based. This PlayStation port is really cool but was only released in Japan. I bought a copy just so I could include it in this project.
In addition to the games, I do have a few little extras on the machine: Several videos of rare LD game footage, such as the full videos of Yamato, Star Rider, and the unreleased Sega game Albegas, and the Dragon’s Lair II television promo ad from the ’80s (before it was temporarily cancelled). There’s also a Japanese program called LDGame which allows one to create your own LD-style games using a GUI, which I have not tried yet but may be a bit easier to use than SINGE (which I have tried and am having some trouble with).
FINAL WORDS
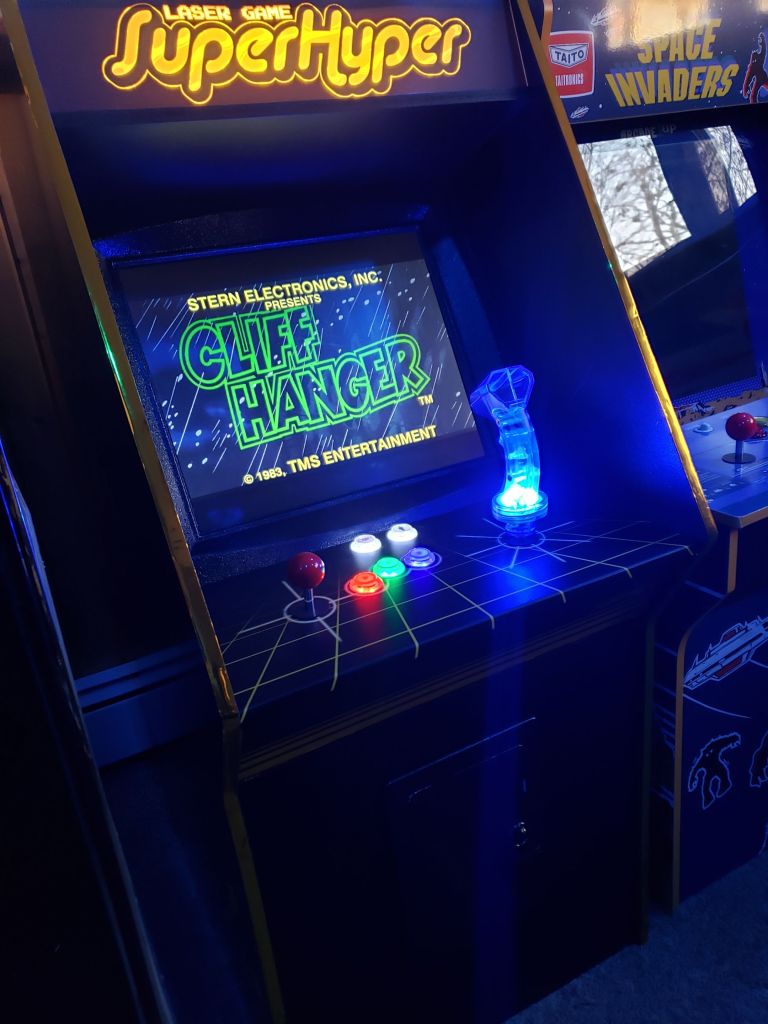
Even though this took me from 2021-2024 to complete, that’s just because I didn’t have a lot of free time to devote to it and I had to just kind of pick away at the project when I could. All told, this probably only took about 2 months’ worth of actual work. There are still a few minor details to finish off: I need a little lip on top of the marquee, I need to securely attach the access panel, and it would be nice to smooth out some of those controller issues.
But overall, I’m super happy with how this turned out — it’s almost exactly as I envisioned it! I would definitely like to do it again — in fact, I already have ideas for a couple more fun mini-cabinets, so keep an eye on RGSH to see future projects.
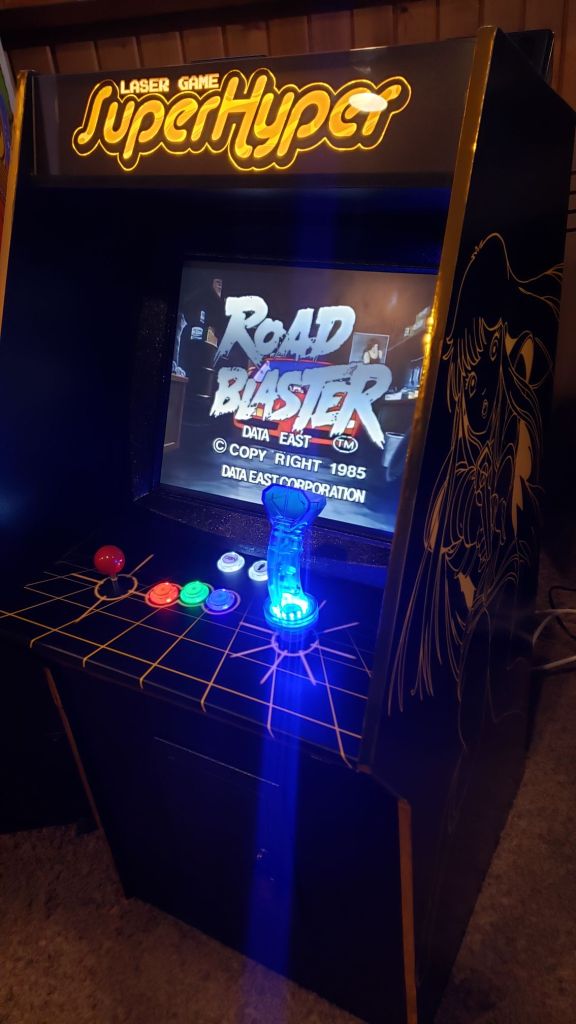
Lastly, I want to acknowledge a few of the companies, products, and resources that I utilized to make this project happen:
Thunderstick Studios for the GRS Tron stick as well as assistance with the encoder needed for it
Scott at Game On Grafix for the incredible cabinet art printing and Kendra from This Old Game for referring me to them
The Dragon’s Lair Project, which I have been visiting and referring to for decades, was an invaluable source of information on LD arcade-to-home conversions, prototypes, unreleased games, and more

Leave a comment